
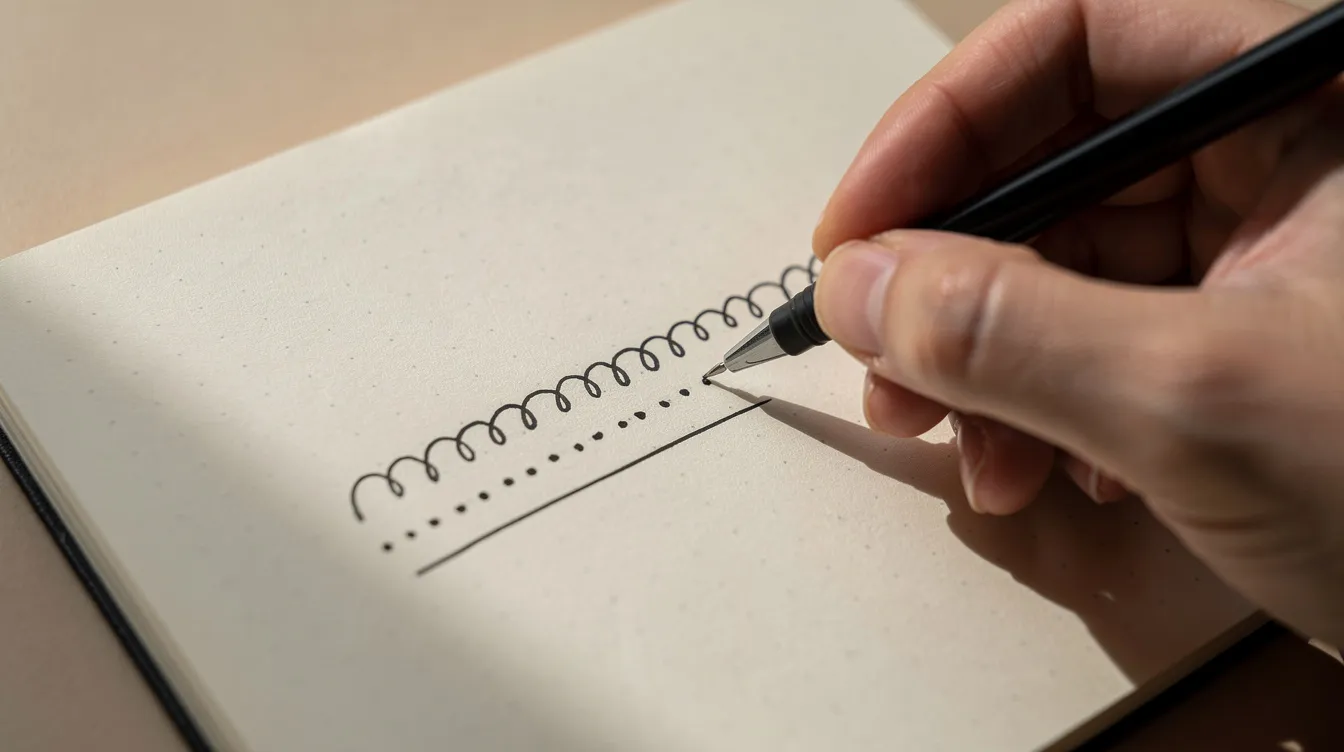
I’m Jordan, a college student in Hamilton, Ontario, and most of my drawing happens in a pocket notebook on the bus home with one cheap black pen. I want to say plainly that I’m a hobbyist. What I share here is my loose, Zentangle-style take on drawing structured patterns, not the official trademarked Zentangle Method. If you want the formal method, the founders and their certified teachers are the right source.
Zentangle patterns are small, structured patterns made from simple strokes. They are a great option for anyone who wants to calm down after a long day. Basic materials include paper, a fine-tip pen, and a pencil. A thin black pen is essential, and Sakura Micron pens are recommended by many in the Zentangle community. Here is how to start tonight: draw a light pencil border on a small square of paper, about 9 cm or 4 inches across (the ideal paper size for Zentangle is 4 inches square). Divide the inside with three or four loose pencil lines. Then fill one space with an easy lines-and-dots pattern. It takes me 10 to 20 minutes. You do not need to be artistic. Zentangle encourages creating art without any prior drawing skills required. The rest of this post walks through learning, choosing, and combining patterns step by step.
What Is the Zentangle Method and Why Structured Patterns Are So Calming
The Zentangle Method is a structured, easy-to-learn art form that promotes mindfulness. It was developed by founders Rick Roberts and Maria Thomas, who noticed that drawing repetitive patterns produced a meditative, focused state. Their trademarked method has its own vocabulary: patterns are called tangles (and they can be complex), the small squares are tiles, the light pencil dividers are strings, and shading brings everything to life. The Zentangle Primer Vol. 1 guides through 8 steps of drawing, and there are now over 8,600 Certified Zentangle Teachers worldwide who teach the formal process. Zentangle promotes relaxation through drawing repetitive patterns.
The method requires only five basic strokes to start: dots, straight lines, C-curves, S-curves, and orbs. You repeat these until the brain settles into a rhythm. If you have ever read about doodles in a broader sense, structured pattern drawing sits as a more shaped, intentional cousin of casual doodling. The Wikipedia entry on doodles covers the broader idea.
My version fits into 15 to 20 minutes between classes or on the bus. It replaces some scrolling with a sense of finishing something small and lovely. I treat it as mindful sketching, not a performance. Mindful art practices like Zentangle can be beneficial for self-care routines, and I find that to be true even in a noisy seat on the 5 bus to Toronto.
Core Building Blocks: Strokes and Shapes Behind Zentangle Patterns
Think of these five strokes as a visual alphabet. Dots are tiny filled points. Straight lines form grids and borders. C-curves and S-curves create flowing shapes. Orbs are full circles. Every tangle I have tried is some combination of these.
Drawing structured patterns means repeating those strokes in grids, bands, or radiating circles so the result looks intricate but is easy to draw. Geometric patterns use straight lines and simple shapes, and eight geometric Zentangle patterns are available with step-by-step tutorials online. Geometric patterns often look complicated but are easy to draw once you see the underlying structure.
A concrete example: a row of parallel lines becomes a pattern instantly. Add alternating short diagonal lines between them and you get a woven, ribbon-like look. I start with patterns built only from lines, curves, and dots. A loose grid with a dot in every second box is the easiest fragment for a tired brain. Mastering a few strokes beats memorizing dozens of patterns.
Step by Step: 5 Easy Zentangle Patterns for Beginners
This is the practical heart of the post. Each pattern below is a prose sequence of where each stroke goes. These patterns work well together on one small tile, and I suggest varying scale and line weight rather than copying exactly. My rules: draw one line at a time, never erase the ink, and turn lopsided curves into something new. Mistakes are viewed as opportunities in the Zentangle Method, and half my favorites started as accidents. Many Zentangle patterns can be drawn in 6 steps or fewer.
Calm Lines: A Soothing, Striped Starter Pattern
Draw a pencil border around a section, then fill it with evenly spaced parallel lines. My twist is adding short curved lines alternating sides between them, like a woven strap. If you want a dark-light rhythm, try hatching: closely spaced parallel lines filled into every other stripe. This is the perfect first tangle when you feel frazzled because there are almost no decisions, just slow repetition. Use it along one edge or in a band to frame busier patterns later.
Pebble Path: An Easy Orb-Based Pattern
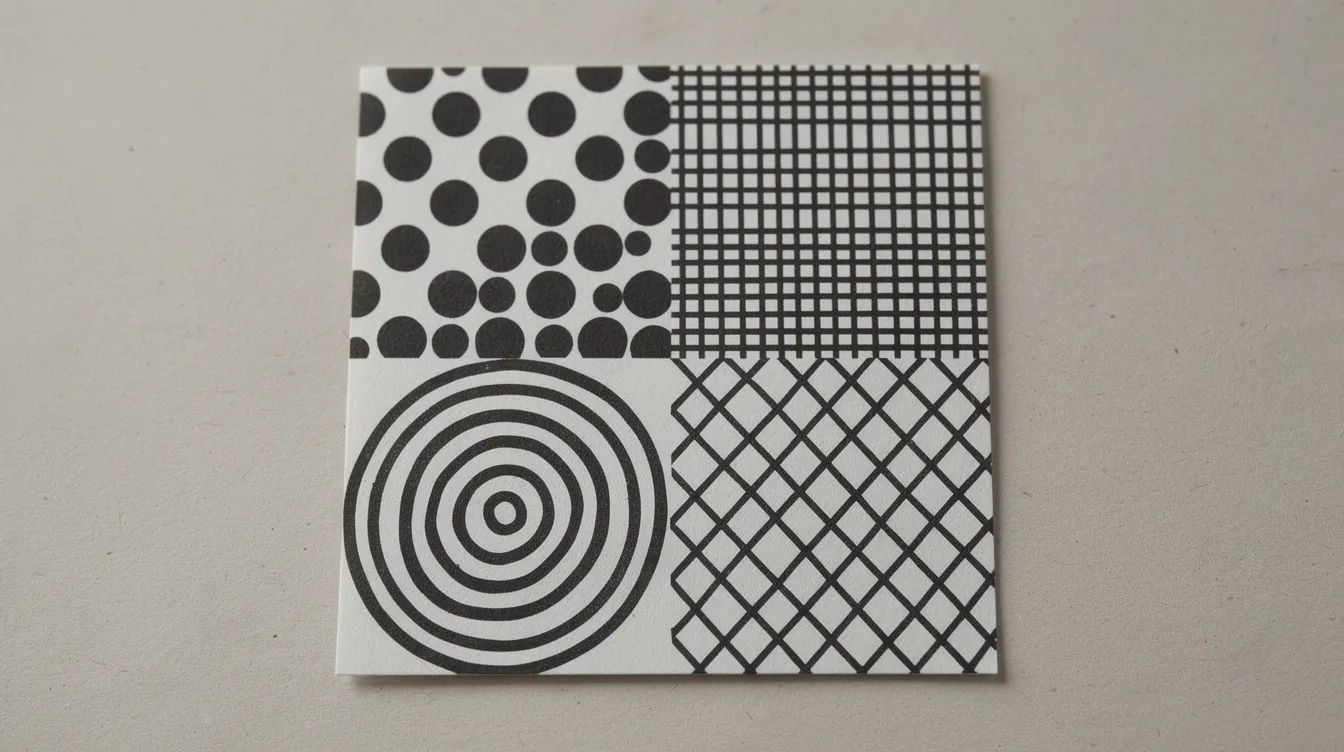
Fill a section with loose, overlapping circles and ovals, like a pile of river pebbles in different sizes. Then add a smaller circle and a tiny center dot inside each. It looks complex but is just circles. Darken the tiny gaps between orbs for depth, and tuck dots or mini circles into leftover spaces. This is a fun pattern for people who prefer organic, rounded shapes to strict geometry. Geometric tangles promote relaxation and stress relief, and so do these softer, rounder ones.
Basket Grid: A Structured Grid for Quiet Focus
Lightly pencil a grid of squares. Ink every other row of vertical lines, then every other row of horizontal lines, to create a woven look. Vary the thickness of some bands for dimension, and treat the alternating rhythm as a calm exercise rather than a technical task. It looks complex once shaded but is built entirely from straight lines. This is a classic example of how eight geometric patterns are featured in tutorials, and also how four challenging Zentangle patterns are broken down step by step into manageable strokes.
Spiral Breeze: Simple Curves for Gentle Movement
Draw a loose spiral in a section, then echo it with “aura” lines at a small distance until the space is filled. Think of the ripples like a paper fan growing outward. Alternate thick and thin lines, or fill one band solid black for contrast. This pairs well with gridded tangles because it introduces flowing movement among the straight lines. Exploring popular patterns like Crescent Moon and Printemps is ideal for beginners who enjoy this kind of curving play.
Net Glow: A Quick Geometric Background Pattern
Draw a net of crisscrossing diagonal lines that forms diamond shapes. Add dots or mini circles at every intersection for a beaded, jewel-like look. Darken a few random diamonds so the pattern feels lively rather than rigid. Use it as a background behind bolder tangles or lettering. It is easily one of my go-to patterns when I want to prepare a tile quickly and create beautiful images with minimal effort.
How to Combine Zentangle Patterns into a Relaxing Daily Practice
I use three or four patterns per tile. More gets busy. Start a tile by drawing a light pencil border, placing a dot in each corner, then sketching a loose pencil string across the middle. Fill each section with a different pattern so neighbours contrast: curved next to angular, dense next to open. A first full-tile recipe I enjoy is Calm Lines in one area, Pebble Path in another, and Spiral Breeze as the focal point. Let patterns end at the string line or tuck slightly behind it.
Shading adds dimension to geometric tangles and organic ones alike. I use a regular graphite pencil, smudged with a fingertip along edges and under overlaps. Two realistic ways to fit this into a busy day: on a bus ride (some days I fill just one section and finish later) or as a relaxing break between assignments. Watch how even a bit of shading can turn flat doodles into something with volume and depth.
Next Steps: Grow Your Zentangle Pattern Library Without Overwhelm
It is tempting to collect hundreds of designs and never actually draw them. I prefer a slower approach. I keep a page at the back of my notebook with a tiny sketch of each pattern I want to repeat, plus a note on how it felt to draw. That pattern journal builds confidence over time.
To discover new easy zentangle patterns, study fragments of tiles you find on Pinterest or other inspiration sources, simplify complex designs to their core strokes, or invent variations on Basket Grid or Pebble Path. TanglePatterns.com offers free video lessons for beginners, and the Zentangle Primer Vol. 1 is a key instructional book if you want a complete collection in print. Zentangle Project Packs include all necessary supplies for lessons if you want everything in one shop. I will admit that my tiles never look like the tidy photos, and that is fine.
Here is a mini-challenge: build a collection of 10 favorite patterns over the next month and rotate them through your tiles. Sign each one and review what you made at the end of November. You will be surprised.
If you want more low-pressure ways to make marks, my post on turning doodles into relaxing art covers similar activities. And if you are new here, the Start Here page has my other low-effort exercises and the cheap supplies I actually use.
Zentangle-style drawing is a gentle, quiet companion you can learn and return to on any evening. It is not another skill to master. It is a way to connect your hand to the page, share a few minutes of calm with yourself, and begin again tomorrow.
FAQ
Do I need to be good at drawing to try this? No. Every pattern is lines, curves, circles, and dots. Join in with whatever you can draw.
What pen is best for pattern drawing? A fine black pen, 0.3 to 0.5 mm. I like Sakura Micron pens. Test on scrap paper for bleed-through before you start.
How long does one tile take? About 10 to 20 minutes for a small square. Some days I only fill one section and come back later.
Can I use colour? Yes, lightly, on a section or two so the patterns still stand out. I find that keeping most of the tile black and white helps the artist in me stay focused on shape rather than palette.
Is this the same as official Zentangle? No. Zentangle is a trademarked method with certified teachers, a specific class structure, and formal steps. What I share here is a casual, Zentangle-style take, inspired by the same ideas but not the official thing. I hope that is clear and I encourage you to explore the official source if you want the full experience.